

Blazor was created in 2018 by Microsoft and the .NET Foundation. Blazor is an open source web framework that is used for building interactive client-side websites. The biggest selling point of the framework is the ability to create interactive UIs using C# instead of Javascript. Blazor apps are composed of reusable web UI components implemented using C#, HTML, and CSS. The top portion of Blazor pages are filled with html code, and the seperated bottom portion contains the C# used. By using @ directives, the html elements are able to connect to the C# code. This allows for dynamic web pages to be created. It also is used with events and dictating what should happen when an event takes place with an html element (button click). Both client and server code is written in C#, allowing you to share code and libraries.

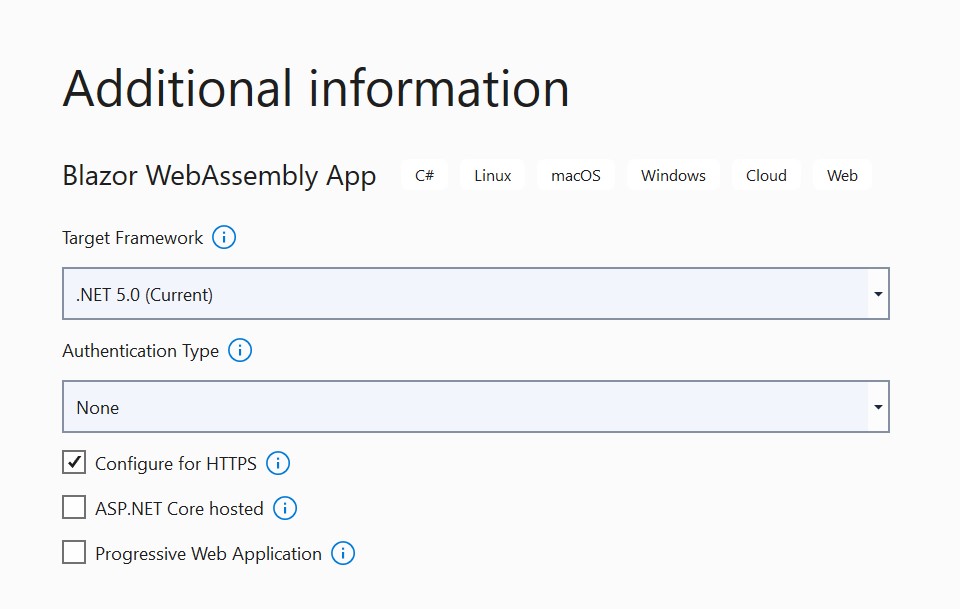
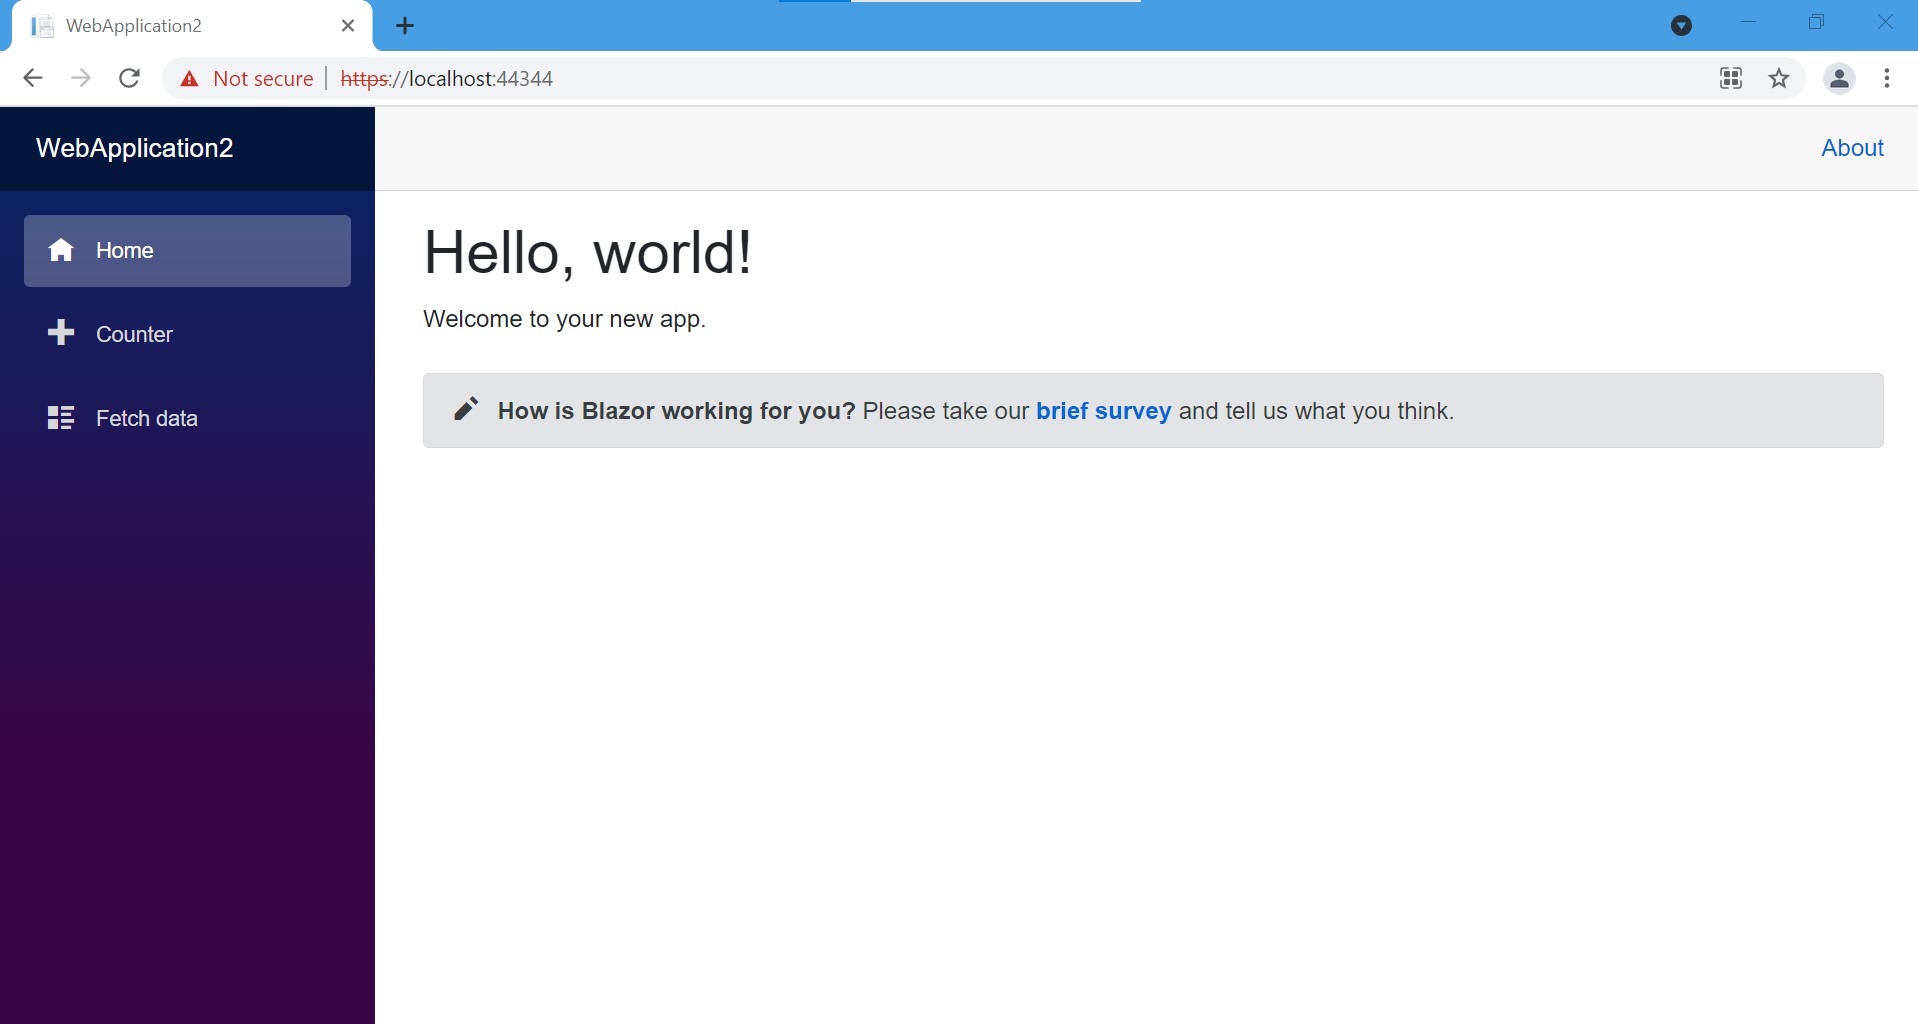
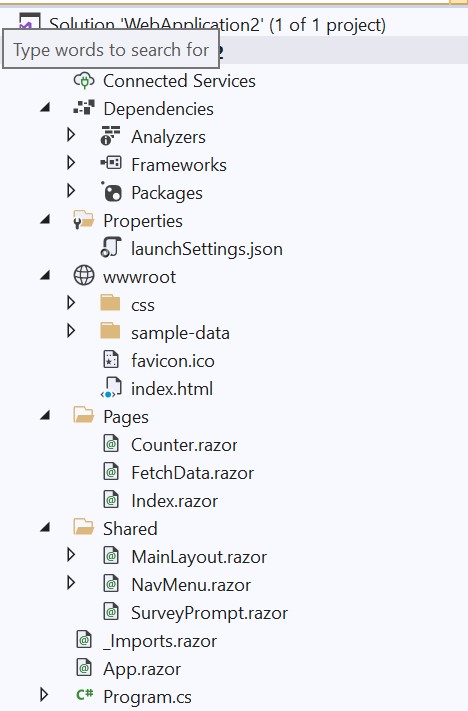
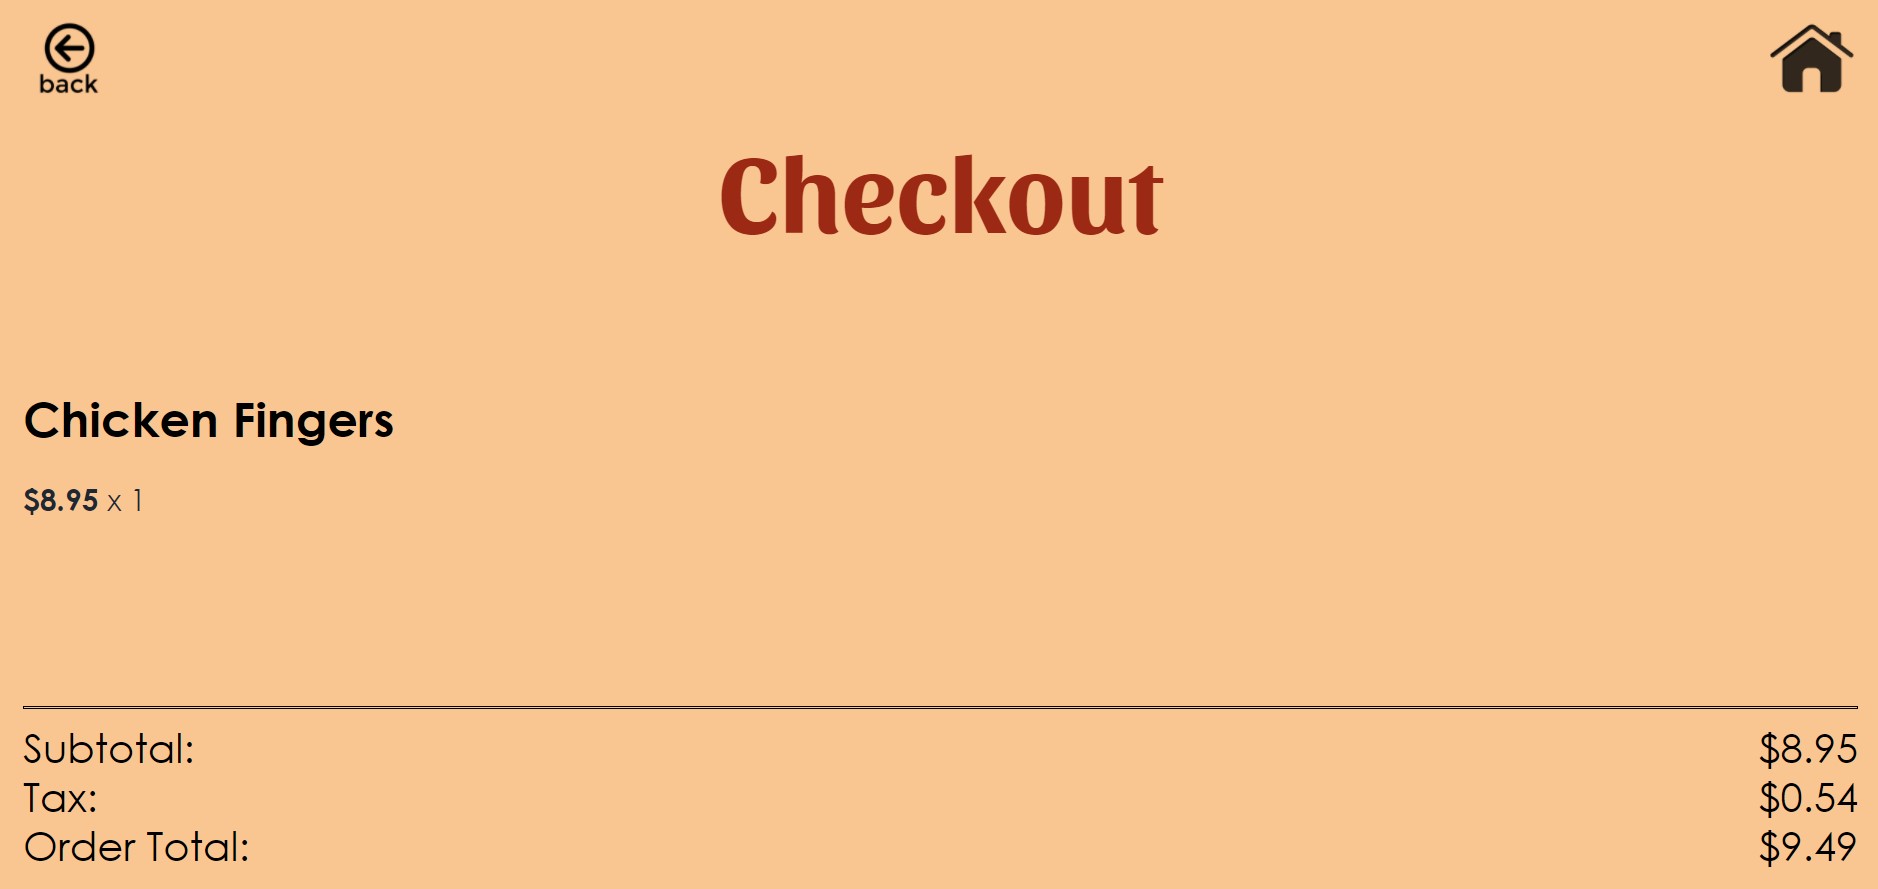
For our web application, we decided to create an online ordering site for a pizzeria. On this site, users can look at the menu and order items online to pick up at the restaurant. We have a menu page that displays the items on the menu and a contact page that lets the user make a comment or get in touch with the restaurant for any reason. We also have an order page that allows the user to add items to their order, update the quantities for those items, and delete them. The checkout page allows the user to review their order and, if they want to edit an item, they can click the back button and go back to the order page. The checkout page also consists of a form where the user enters their card information so that they can pay online. The final page is an order confirmation page that displays a thank you message and lets the user know when their order should be ready for pickup. This last page also includes a home button that takes the user back to the index page when they click it.
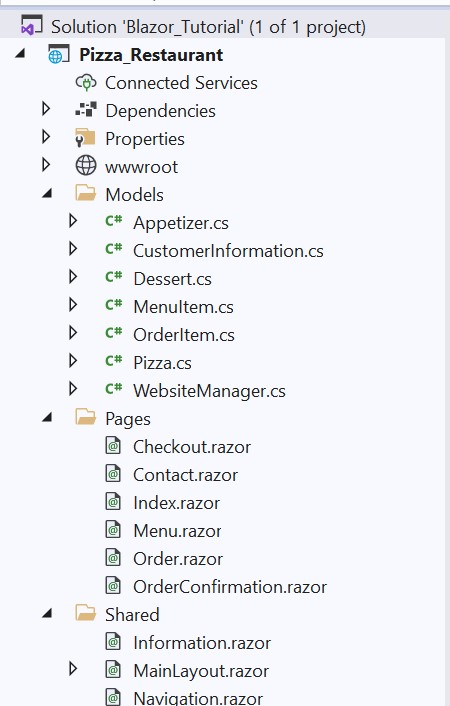
Before we began creating our web application, we first needed to delete the components from the template that we did not need. We then added the components that we did need and we also had to add a Models folder to store the C# classes that we used for the application. We created C# classes for Appetizer, Pizza, Dessert, MenuItem (items on menu), OrderItem (items in customer order), and CustomerInformation (used for form validation when customer adds information to place order). We created an index page, menu page, contact page, order page, checkout page, and order confirmation page.
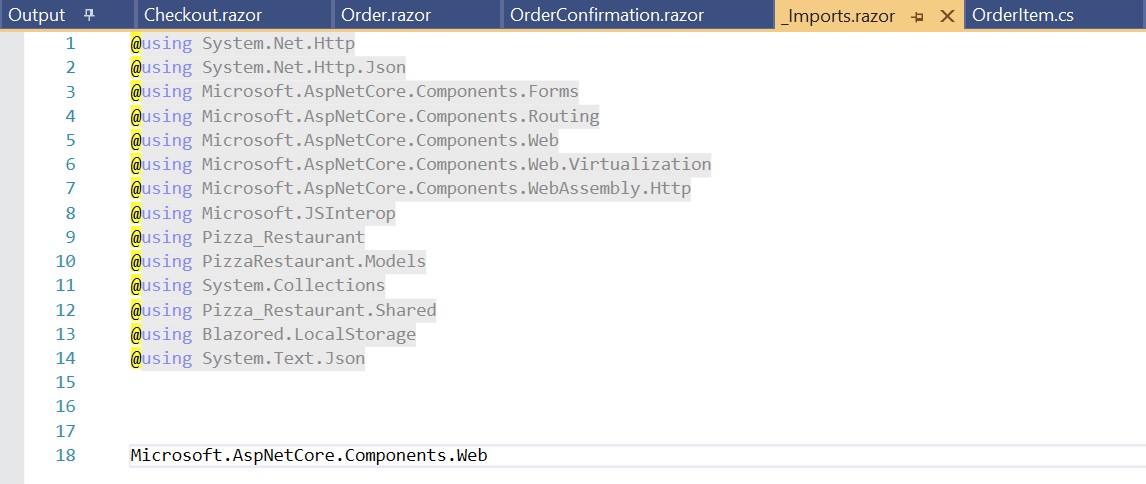
We then needed to edit the _Imports.razor component. This componenet is used to store the namespaces used in the web application. By putting the namespaces in this component, they can be referenced in any of the other components or pages within the application. This component includes namespaces to access the C# files, shared files, and local storage.
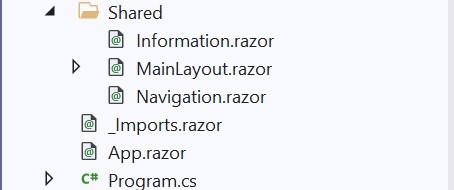
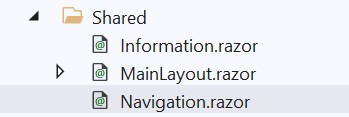
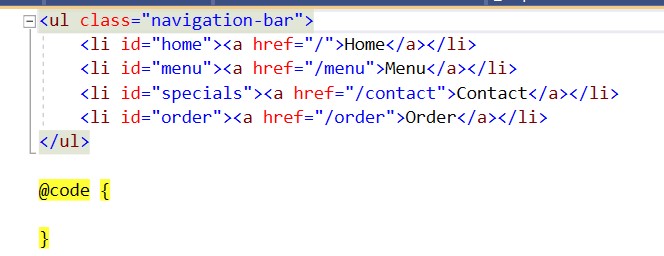
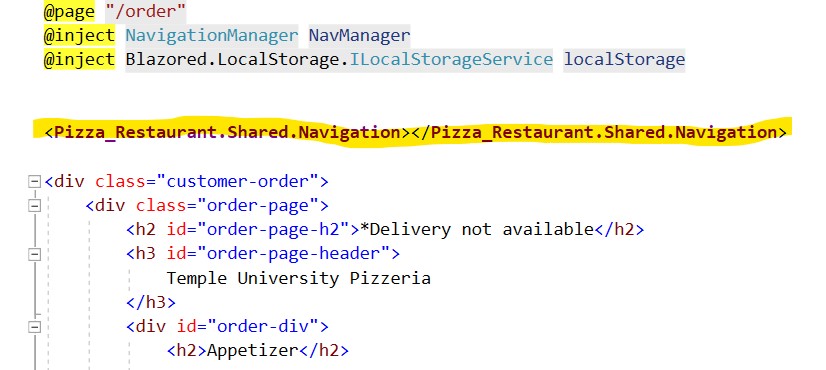
The first component that we added was the Navigation.razor component. We added this to the Shared folder because we wanted to reuse the code in all of our pages, but we did not want to rewrite the code multiple times. Since this is a razor component and not a razor page, we do not need to add the @page directive at the top. In this component, we were able to write the code for the navigation bar and we could reference it in the other pages by adding the highlighted line of code below.
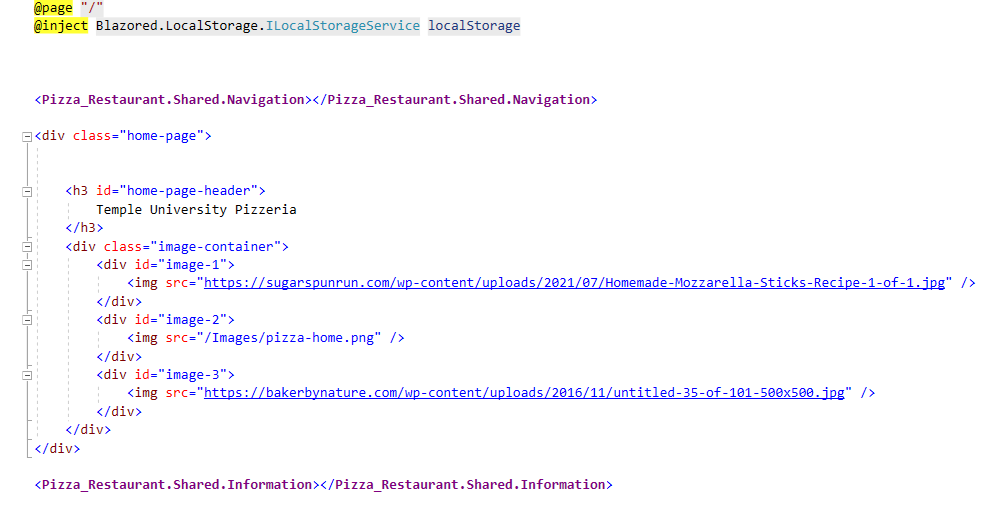
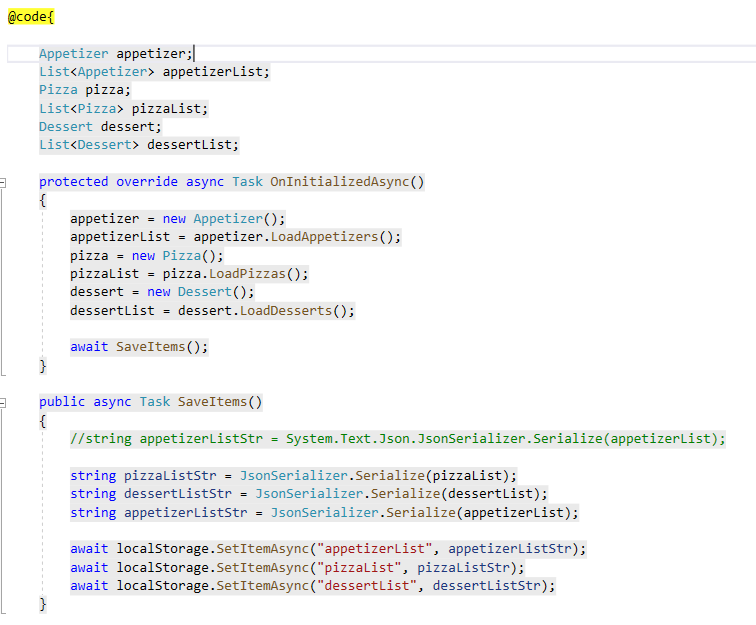
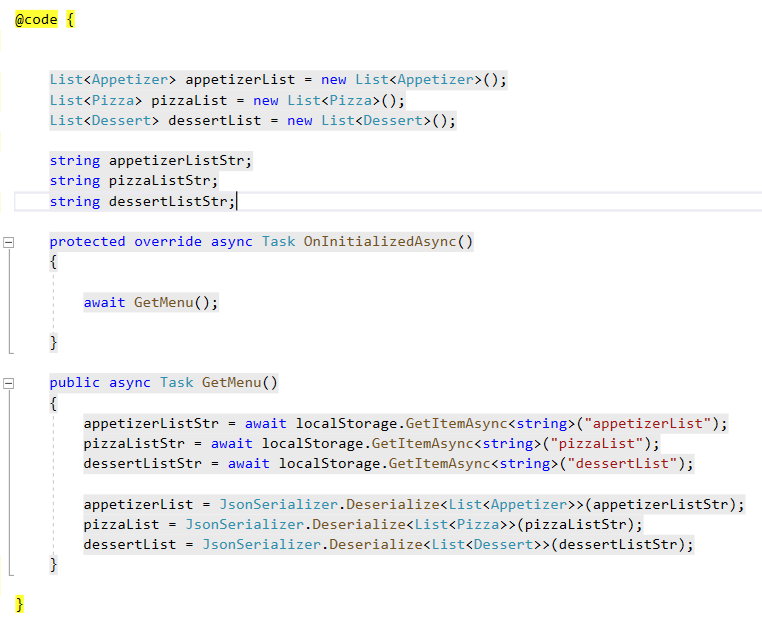
Below is the code for the home page of our Pizzeria web application. The top portion is the html code and the bottom portion, under @code, is the C# code that we used. The first thing that we needed to do was add a new razor component and put @page "/" at the top to show that this is the index page. On this page we initialized lists for each category on the menu (appetizer, pizza, dessert) and created objects for our menu items, then serialized and saved them to the local storage so that we could access them in our other components.

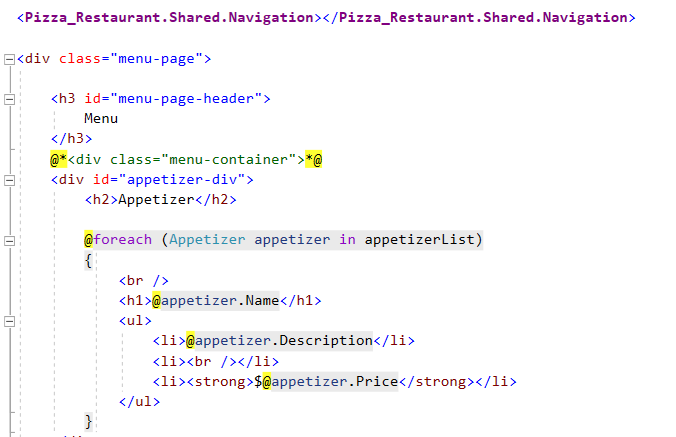
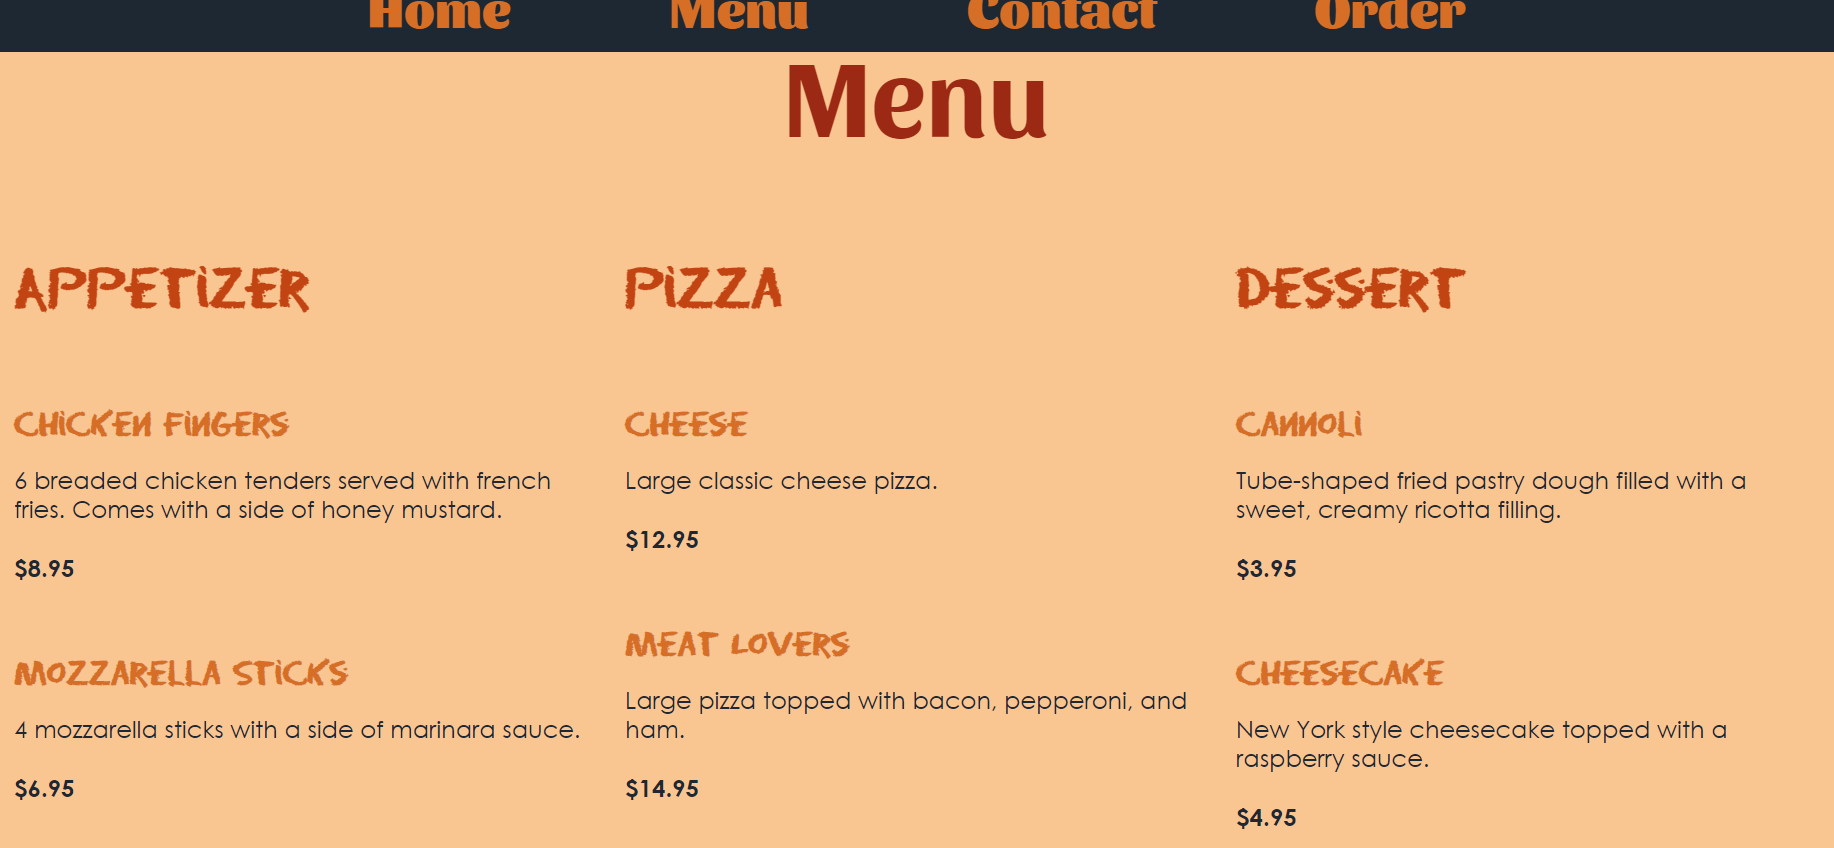
Next we created a menu page to store all of the menu items. We deserialized the objects from the local storage and added them back to the menu item lists. In the below picture we created a menu container, and displayed all of the menu items inside of there. As you can see in the screenshot, in order to access C# variables from within the html portion, you must use the @ symbol when referencing them. Also, in order to make the page dynamic, we used a foreach loop that would loop through each list and add a div for every item in that list. If an item is added, a new div would be created. If an item was removed, that specific div would be removed from the page. To place the foreach loop in the html, we needed to add @foreach which is used to refer to the C# code at the bottom of the page. This process was done for the appetizers, pizzas, and dessert items on the menu.
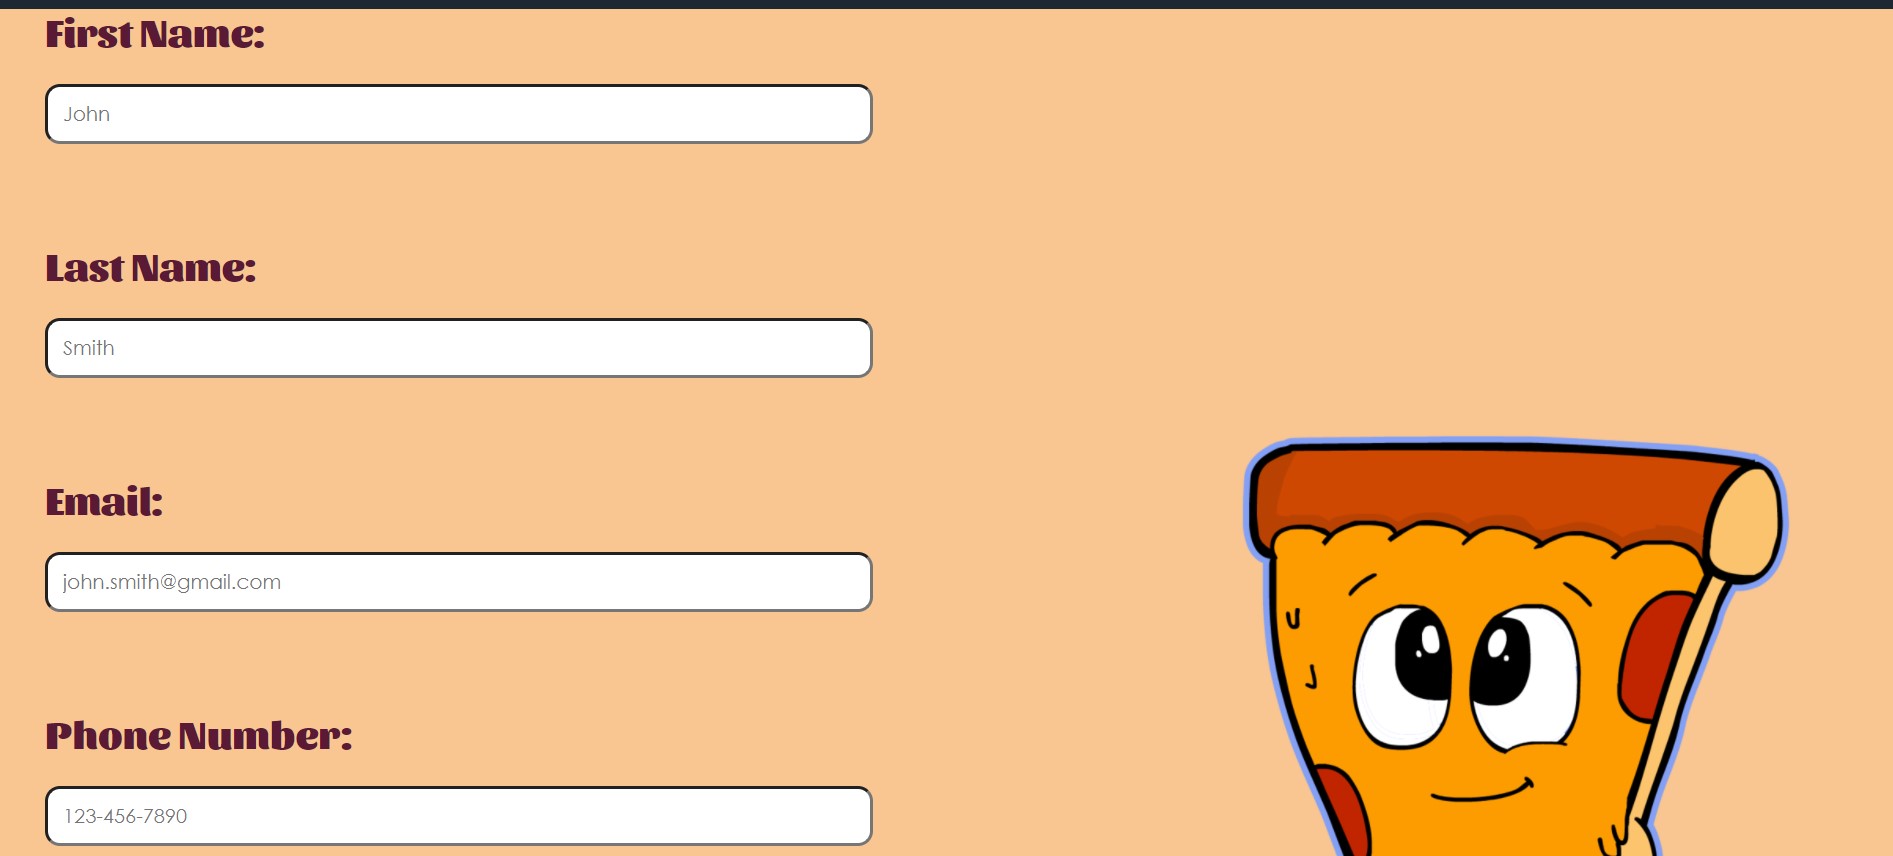
Our contact page consisted of a form where the user can contact the restaurant with questions or comments. The form includes places where the user can write their first name, last name, email address, phone number, and message. None of the fields are required. When the user clicks the submit button, the user is redirected to their email where they can send the email.

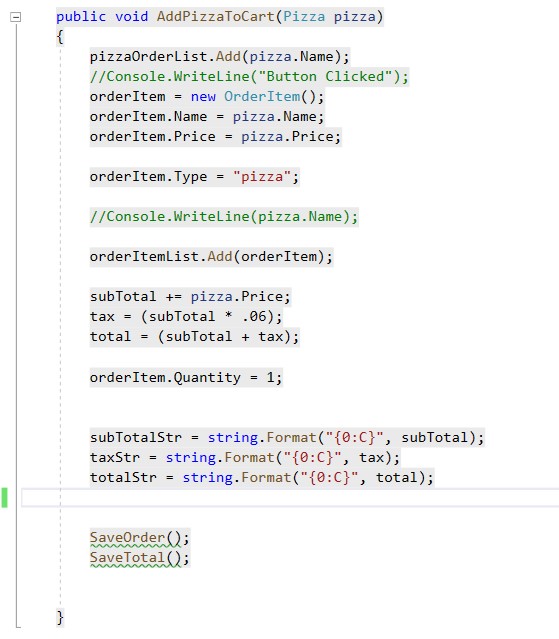
The order page consists of a div for the menu and a div to show the items that have been added to the cart. To get the items for the menu, we access the local storage. If a new item was added to the menu page or if an item was removed from the menu page, that change will also appear on the order page. For each of the menu items, we created an add to cart button that is only displayed when the specific item is not already in the cart. If the user wants to change the quantity, they would need to do so by using the cart div. Once an item is deleted from the cart, the add to cart button is shown again. To attach an event to the add to cart button, we wrote the line of code, @onclick="()=> Add[item type (Appetizer, Pizza, or Dessert)]ToCart([item type])." Using the @ directive, we are able to bind the button click event to a method that we wrote in the code at the bottom. We did something similar in the cart div for the increase quantity, decrease quantity, and delete buttons. In the cart div, we show the items as they get added to the cart and we also display the total and tax based on the item and quantities. There is a buttom at the bottom of the div that takes the user to the checkout page when they click it.


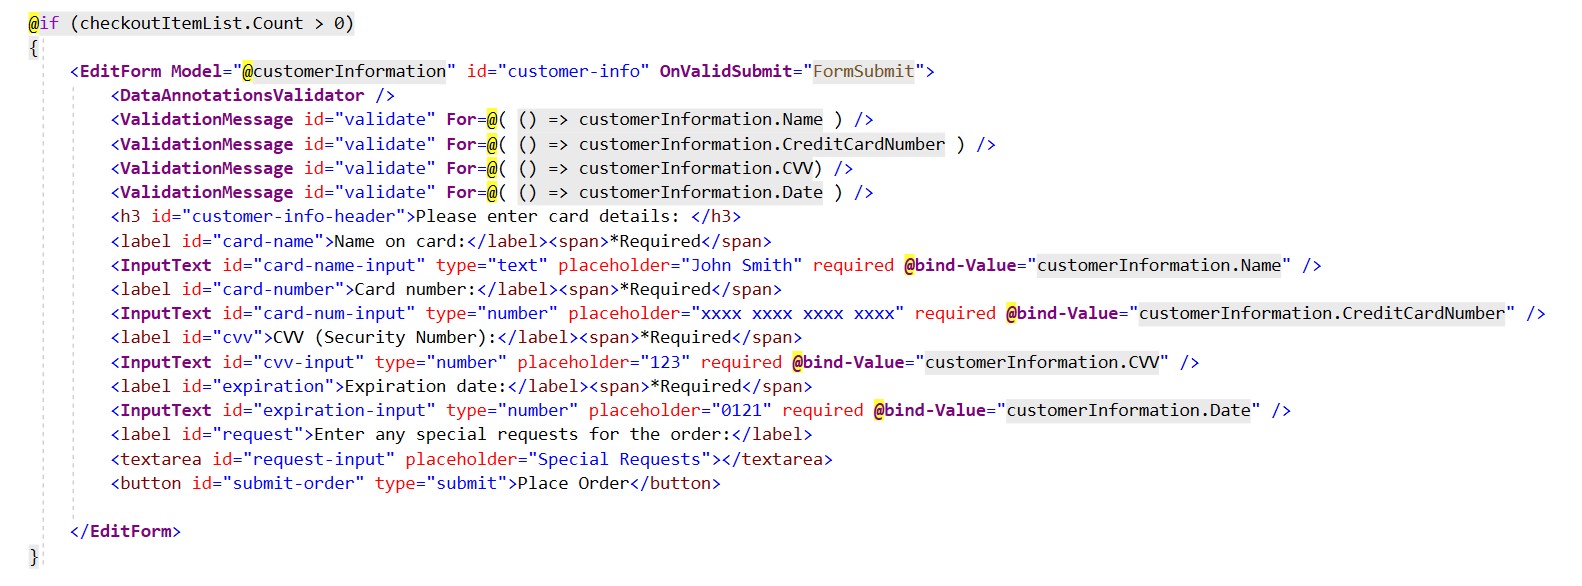
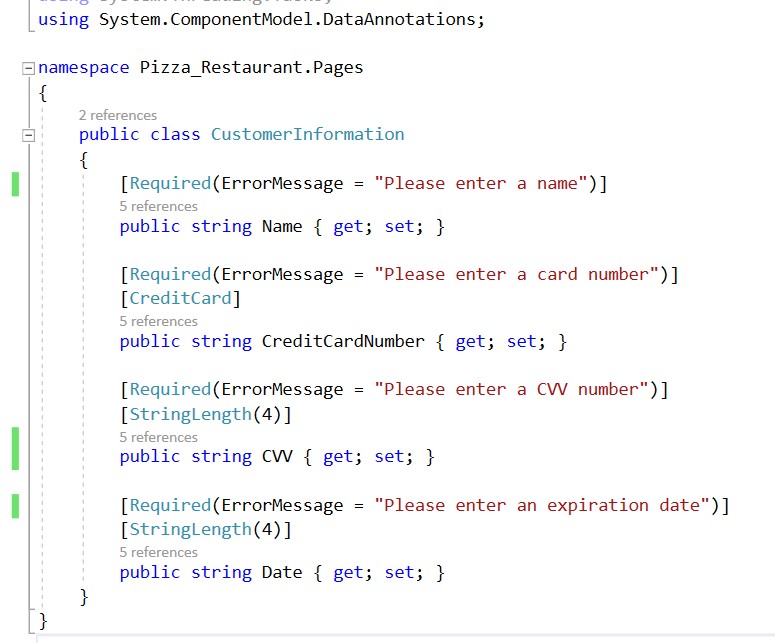
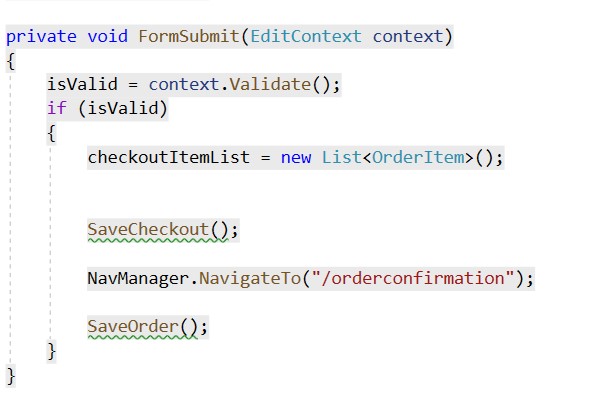
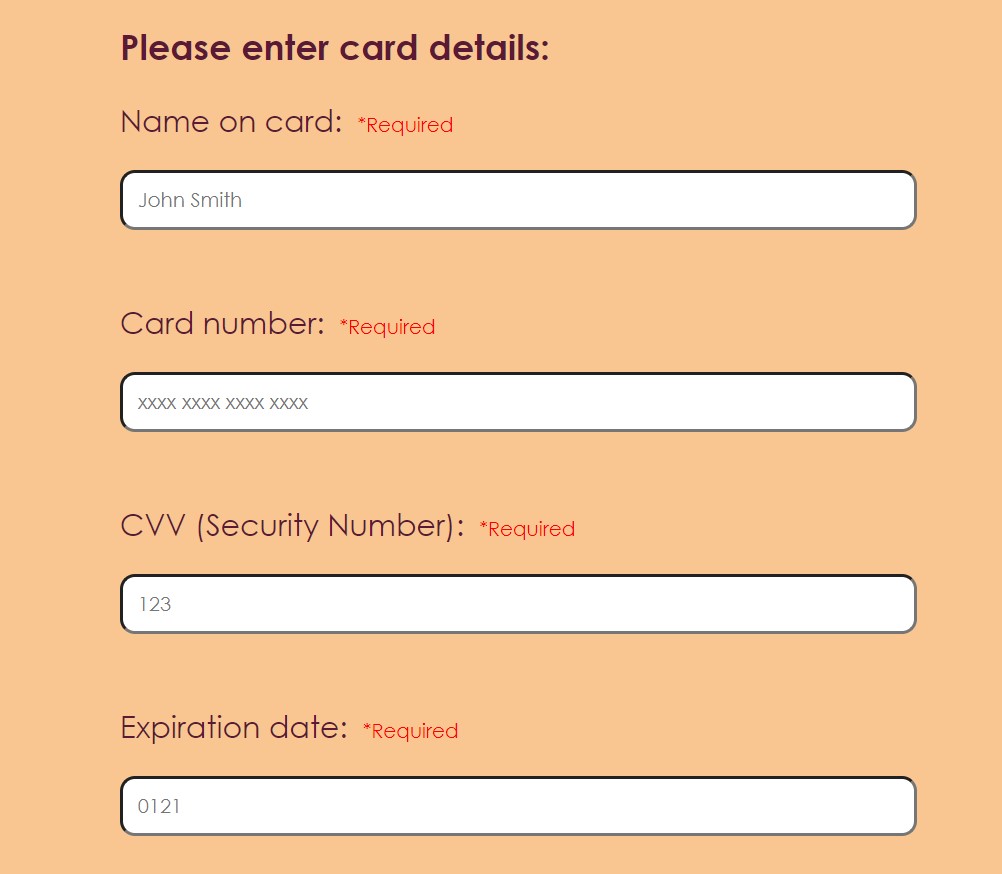
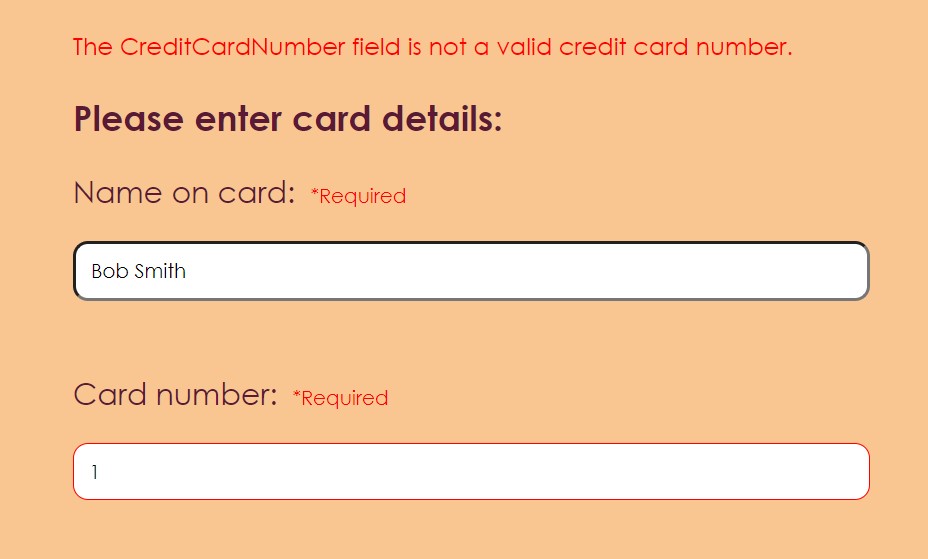
On the checkout page, we access local storage to get the items that the user added to the cart from the order page. We do the same thing with the totals. Underneath the order details, we display a form only when there is at least one item in the cart. The form is used for the user to enter payment details and it is created with the EditForm tag. With this tag, you can reference a C# class from the Models folder which is where you would write the code for the required fields and choose what will be displayed if the user enters an invalid input. When a user enters an input in each field, the @bind-Value binds the input to the class property in order to check if the input matches the requirements. The OnValidSubmit event references a method in the C# code below and checks if the form is valid or not. If it is not valid, the program displays what needs to be fixed by using the ValidationMethod for the specified field. If the form is valid, the form is submitted and the user is redirected to the order confirmation page.
The order confirmation page displays a message to the user letting them know that their order has been placed. A home button was added to allow the user to go back to the home page if they wish.

Blazor WebAssembly allows developers to create Single Page Applications (SPA) using C# instead of JavaScript. This makes it appealing for many people because they are able to use the tools and programming langauge that they might be more familiar with. If a developer has experience working with C# and the features provided with .NET, they do not need to learn JavaScript to create their web application. Instead, they can just use what they already know. Blazor also allows developers to create reusable components in their application. These components make it easy for the developer to use the same code it different parts of the project without having to rewrite it each time. This also helps with the SPA aspect because the information in these components do not have to be re-rendered every time a new page loads. Instead, they are rendered once when the application starts and stay the same for every other page that they are included on. This creates a quicker load time for the pages of the application because the browser does not need to re-render every component for each page that loads. It only needs to re-render the components that are not shared.