Set Up
☰ Tutorial
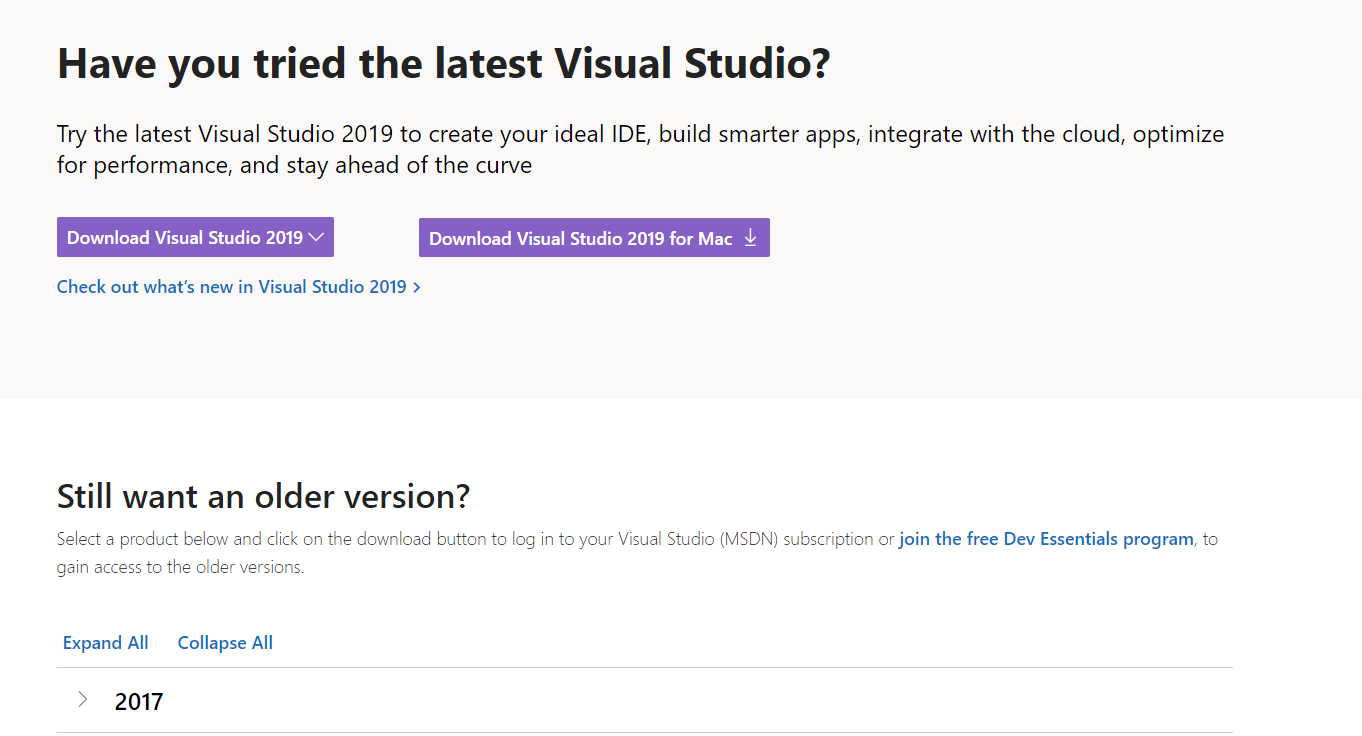
Step 1) Install Visual Studio 2017
Navigate to Visual Studio to download Visual Studio 2017 for your OS.
Once it’s installed, sign in or sign up for a Microsoft account
and use that to sign in to the program.
Step 2) Create A Web Project
Now that Visual Studio is installed, we are going to create an empty
project that will allow us to start building our website.
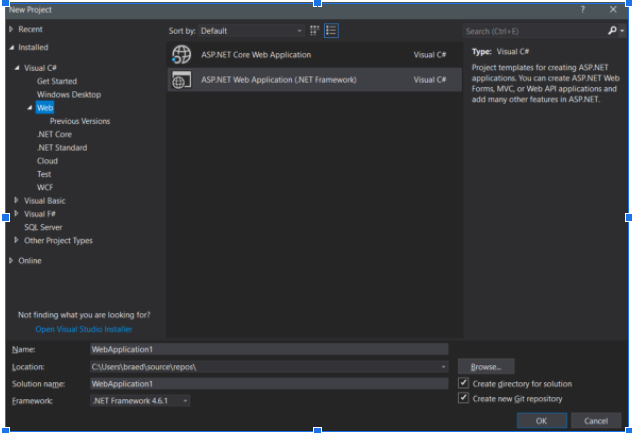
Navigate to File → New → Project or press CTRL + Shift + N.

Now, under the “installed” tab on the left hand side, choose Web and then
select the ASP.NET Web Application (.NET Framework) choice.
Give your project a unique name to remember it by, and click OK.
On the next page, choose Empty and simply click OK.
Step 3) Set Up Your Code Area
As of now, you don’t have any HTML files inside of your solution.
In the Solution Explorer, we are going to right click on the project file that
we are currently working on. This should be named whatever you entered
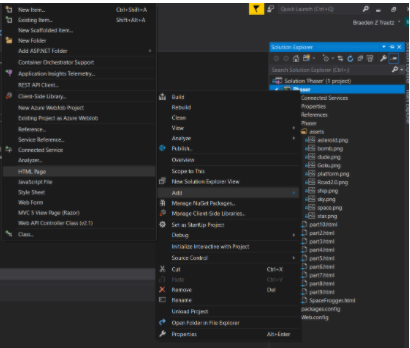
above under the Name option. After right clicking, click Add and then scroll down
and click New HTML Page. Enter in SpaceFrogger.html for the name.
Now you will be greeted with an almost completely empty HTML page.
This page is simply the skeleton of the code we will be writing shortly.
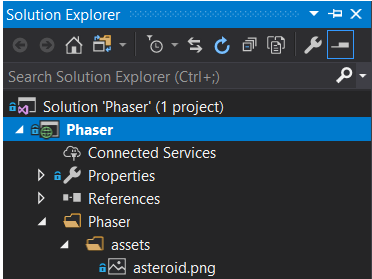 Above you can see the project we right click on to add an HTML file to
and below is the actual button to add the file.
>
Now that our file is set up and ready to edit, we will begin coding. However, to use the Phaser.js library,
we must first import the framework. This is simply done by adding
"script src="//cdn.jsdelivr.net/npm/phaser@3.11.0/dist/phaser.js">script"
inside of the header between the two head and head tags.
Now, inside of our two body tags, we will add a script tag and close it a few lines down.
Inside of these two tags is where we will begin adding all of our code.